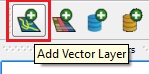
Return to QGIS and click on the ADD VECTOR DATA icon
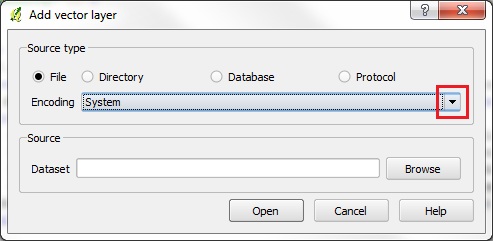
Notice that the Source Type will default to SYSTEM encoding. QGIS is VERY good at handling various character set encodings (such as multi-byte Chinese & Japanese, or UTF-8)! Simply declare the correct codepage at the time of opening the layer, and QGIS will handle the rest! For our example, set encoding = ISO8859-1 (European standard).
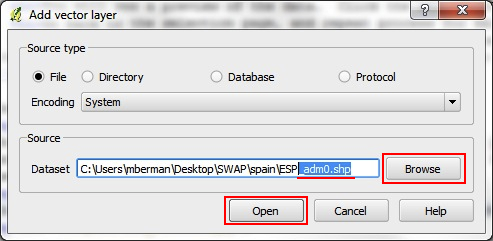
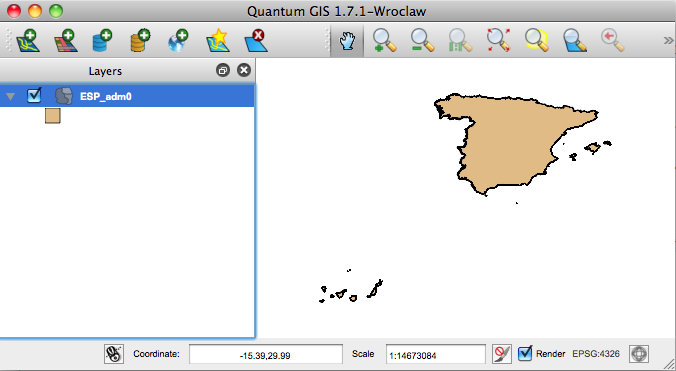
In the Source section, Browse to your working folder and select the filename that ends "_ADM0.shp" (the national boundaries of Spain). Click OPEN to add the selected layer to the current project. The LAYER NAME will appear in the LAYER LIST AREA, and the MAP VIEW will default to the extent of the vector data.
If it is not already active, click on the PAN tool. Move the hand-shaped cursor over the MAP view, then click and drag to PAN the map. Letting go of the click button will set the MAP view the new position.

Now click the ZOOM tool. With the ZOOM tool active, both click and drag a box shape over an area of the map. Letting go of the click button will zoom into the extent of the selection.
Now make the ZOOM OUT tool active. Click any spot on the map view and the view will zoom out, centered on the selected point.

To use the IDENTIFY tool, first right-click on the TOOLBAR AREA and check the ATTRIBUTES toolbar. Now you will be able to make the IDENTIFY tool active. Move the cursor to a spot on the MAP VIEW that has NOT got any features (a blank spot) and click on it. You will see a message in the lower left part of the STATUS BAR, like "no features at this position found." Now try clicking on a area of the MAP VIEW that DOES have colored features. You should see a small pop-up window containing attribute information for the feature that was clicked on.

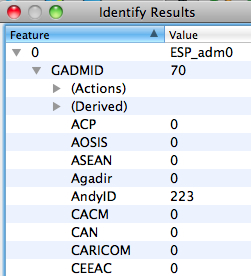
Note to MAC Users: IDENTIFY Tool is unstable. If you have problems, use Finder | Force Quit to stop QGIS, and relaunch.
Proceed to SELECTION tutorial.
|
| CGA Harvard University | Instructor: Lex Berman |

|